Stop Serving Outdated Web Pages to Your Visitors Right Now
Why is my website still showing old content after an update?
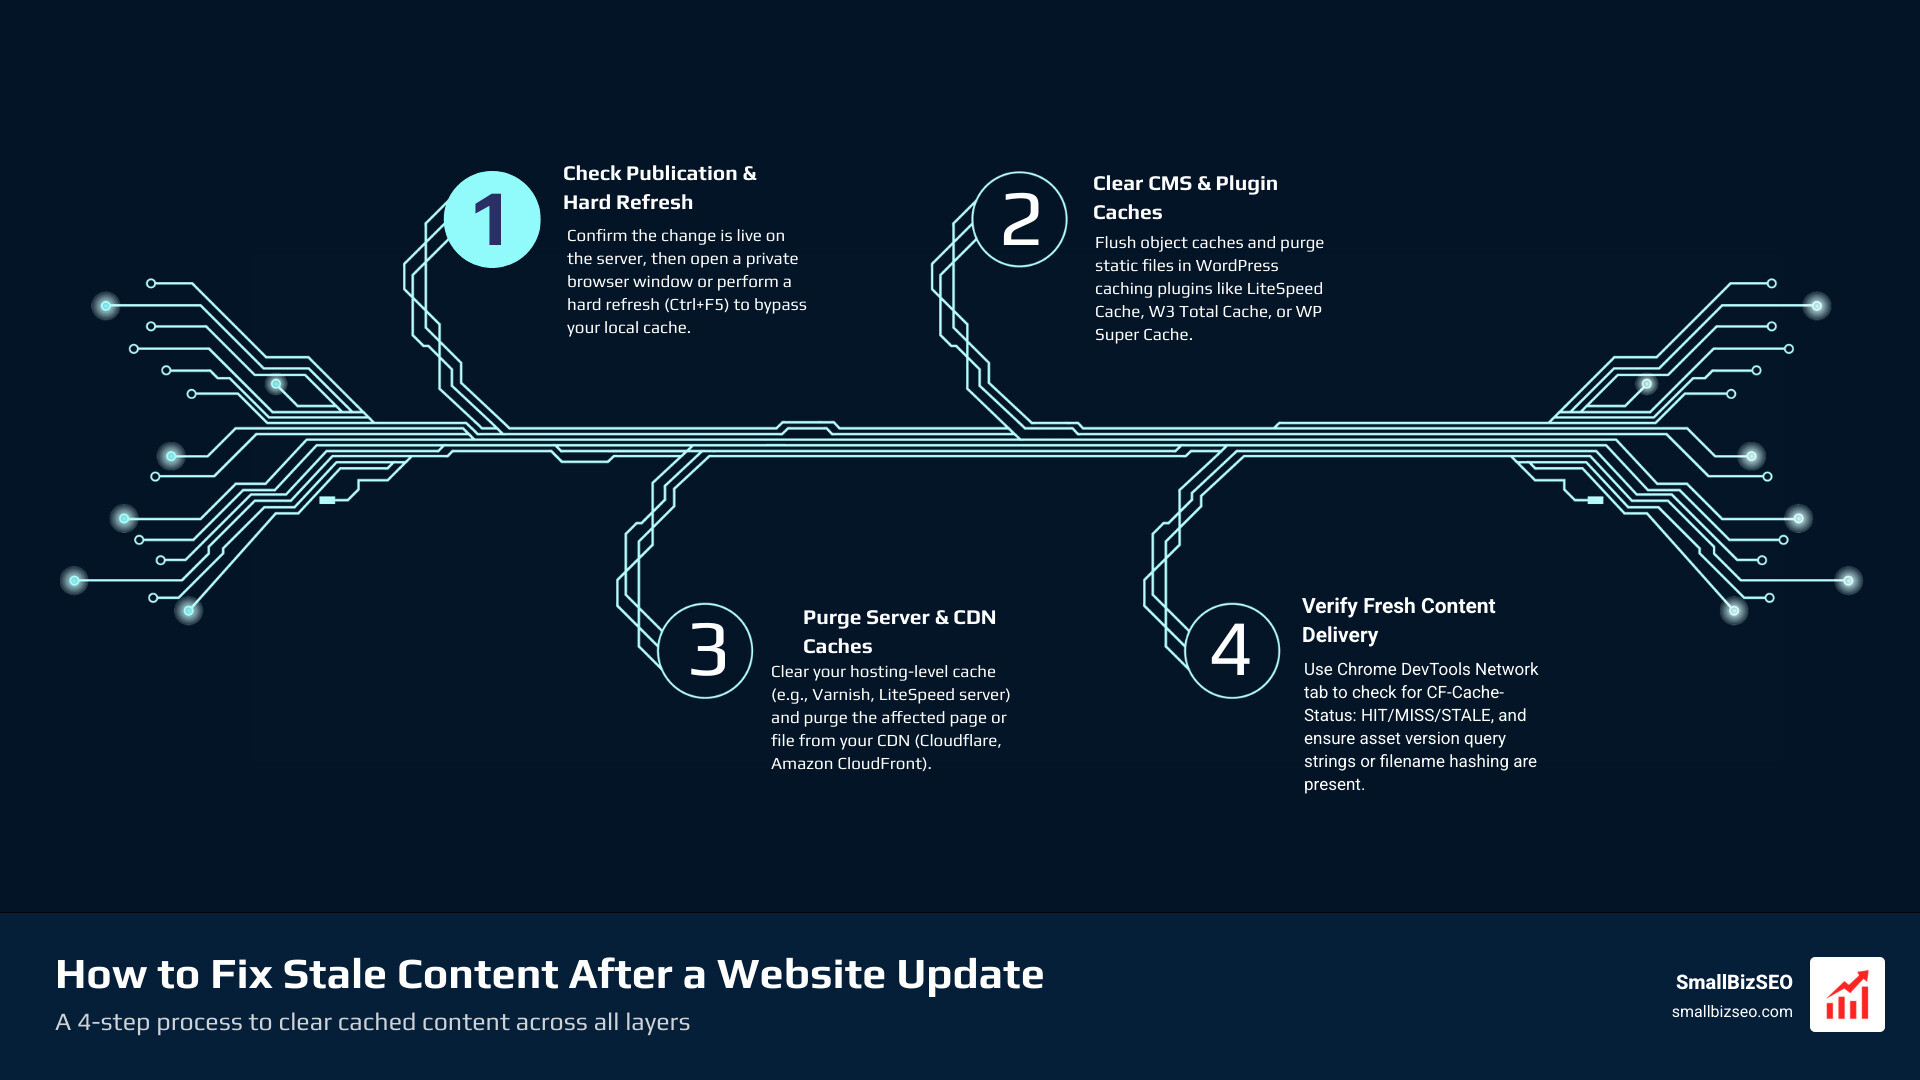
If you're wondering how to fix stale content after a website update, start by checking that the change was published on the live site. Then:
- Open the page in a private window or hard-refresh it to check for a browser cache issue.
- Clear your website's plugin and hosting caches, then purge the affected page or file from your CDN.
- Test again while logged out. If the page is current but its design looks old, check for cached CSS, JavaScript, or images.
Old content can survive in more than one place. Clearing your browser alone won't help if your server or CDN is still sending visitors an older copy.
I'm Clayton Johnson, founder of SmallBizSEO, where I work on website structure, content, and search visibility for small businesses. This guide explains how to fix stale content after a website update and how to find the layer that's holding your changes back.
Why Website Changes Don't Show: Understanding the Multi-Layer Cache Problem
Websites fail to show recent edits because content gets stored across multiple physical locations between your database and the visitor screen. Caching helps pages load rapidly, but when you edit text or swap images, each intermediary layer must be told that the old version is expired.
When someone visits your website, files travel through client-side browser storage, local DNS resolvers, Content Delivery Network (CDN) edge servers, hosting-level cache engines, and CMS application layers. If even one of these systems retains the previous asset, your visitors see outdated material. In fact, stale delivery remains such a common challenge across the web that roughly 23% of sites now configure explicit no-store headers on sensitive pages to bypass caching entirely.
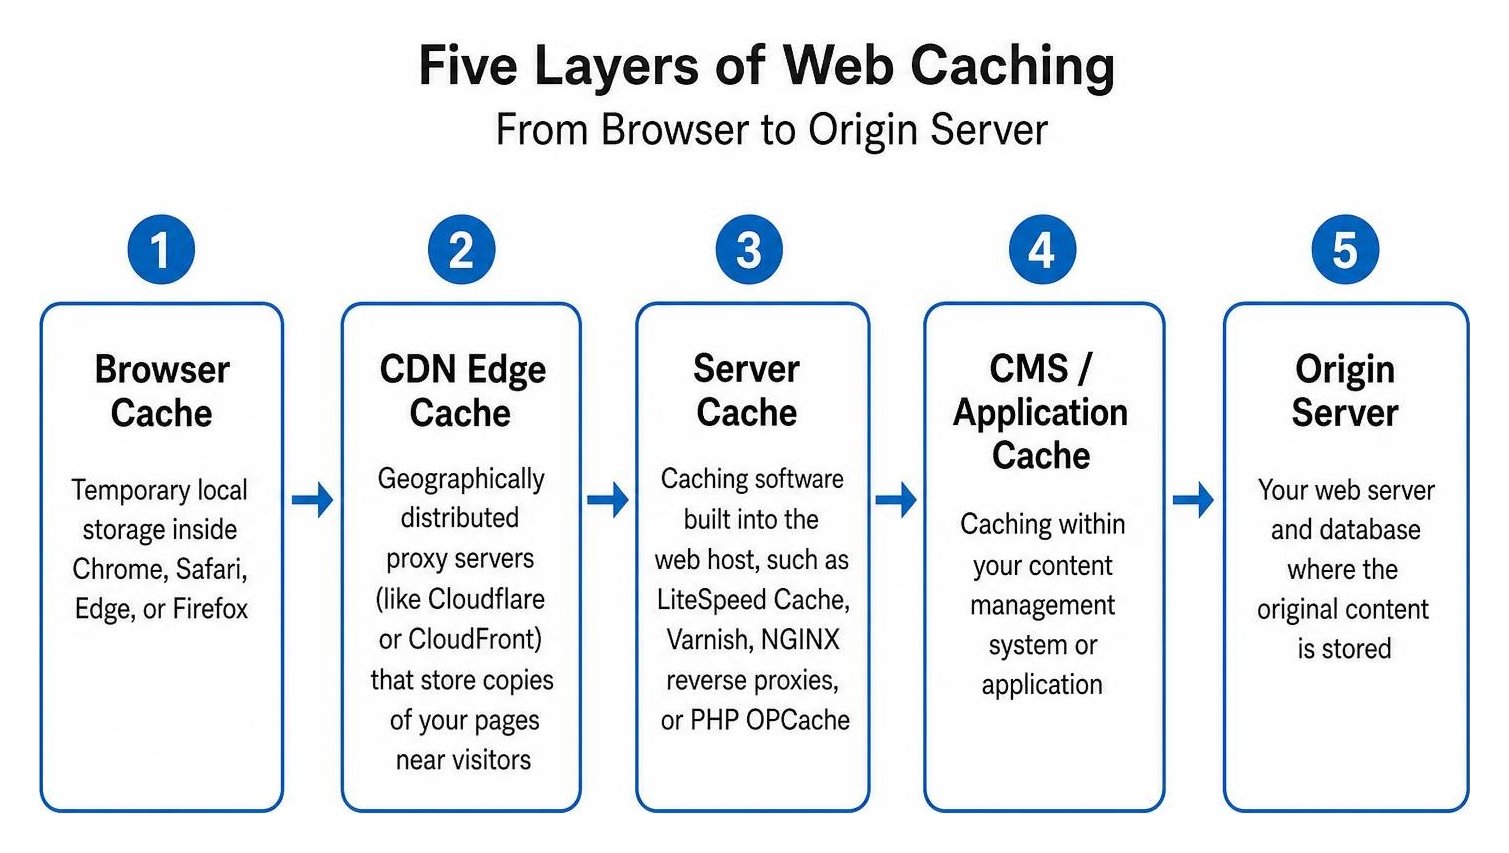
Caching happens across five primary layers:
- Browser Cache: Temporary local storage inside Chrome, Safari, Edge, or Firefox that saves HTML, CSS, JavaScript, and images.
- CDN Edge Cache: Geographically distributed proxy servers (like Cloudflare or CloudFront) that store copies of your pages near visitors.
- Server Cache: Caching software built into the web host, such as LiteSpeed Cache, Varnish, NGINX reverse proxies, or PHP OPCache.
- Application and Plugin Cache: WordPress performance plugins (such as WP Rocket, W3 Total Cache, or LiteSpeed) that pre-render database queries into static HTML.
- Database and Object Cache: In-memory stores like Redis or Memcached that hold complex dynamic queries to save database processing power.
When you migrate a domain or switch hosts, DNS Time-To-Live (TTL) values can also cause visitors to pull data from your old server until records refresh globally.
How to Fix Stale Content After a Website Update Across Every Layer
To resolve outdated web pages permanently, you must invalidate cached files from the inside out: start with your server and CMS plugins, move outward to your CDN edge network, and finally refresh your client browser.
| Cache Tier | Storage Location | Common Invalidation Method | Typical Purge Time |
|---|---|---|---|
| Browser Cache | Visitor device | Hard refresh (Ctrl+F5 / Cmd+Shift+R) | Instantaneous |
| Plugin / CMS | Application storage | Plugin dashboard "Purge All" button | Instantaneous |
| Hosting Server | Web host memory/disk | Control panel Varnish/LiteSpeed/OPCache flush | 1 to 5 seconds |
| CDN Edge | Distributed edge nodes | CDN console URL purge or API call | 150ms to 3 seconds |
| Search Engines | Google web index | Search Console recrawl request | Hours to days |
How to Fix Stale Content After a Website Update at the Browser and Plugin Level
Start by ruling out local browser storage and CMS-level page rendering.
First, execute a hard refresh to force your browser to re-download all core page assets:
- Windows / Linux: Press
Ctrl + F5orCtrl + Shift + R. - Mac: Press
Cmd + Shift + R.
If you manage a business site where multiple team members report seeing previous designs, walk them through the proper browser cache clearing procedures directly in their browser settings.
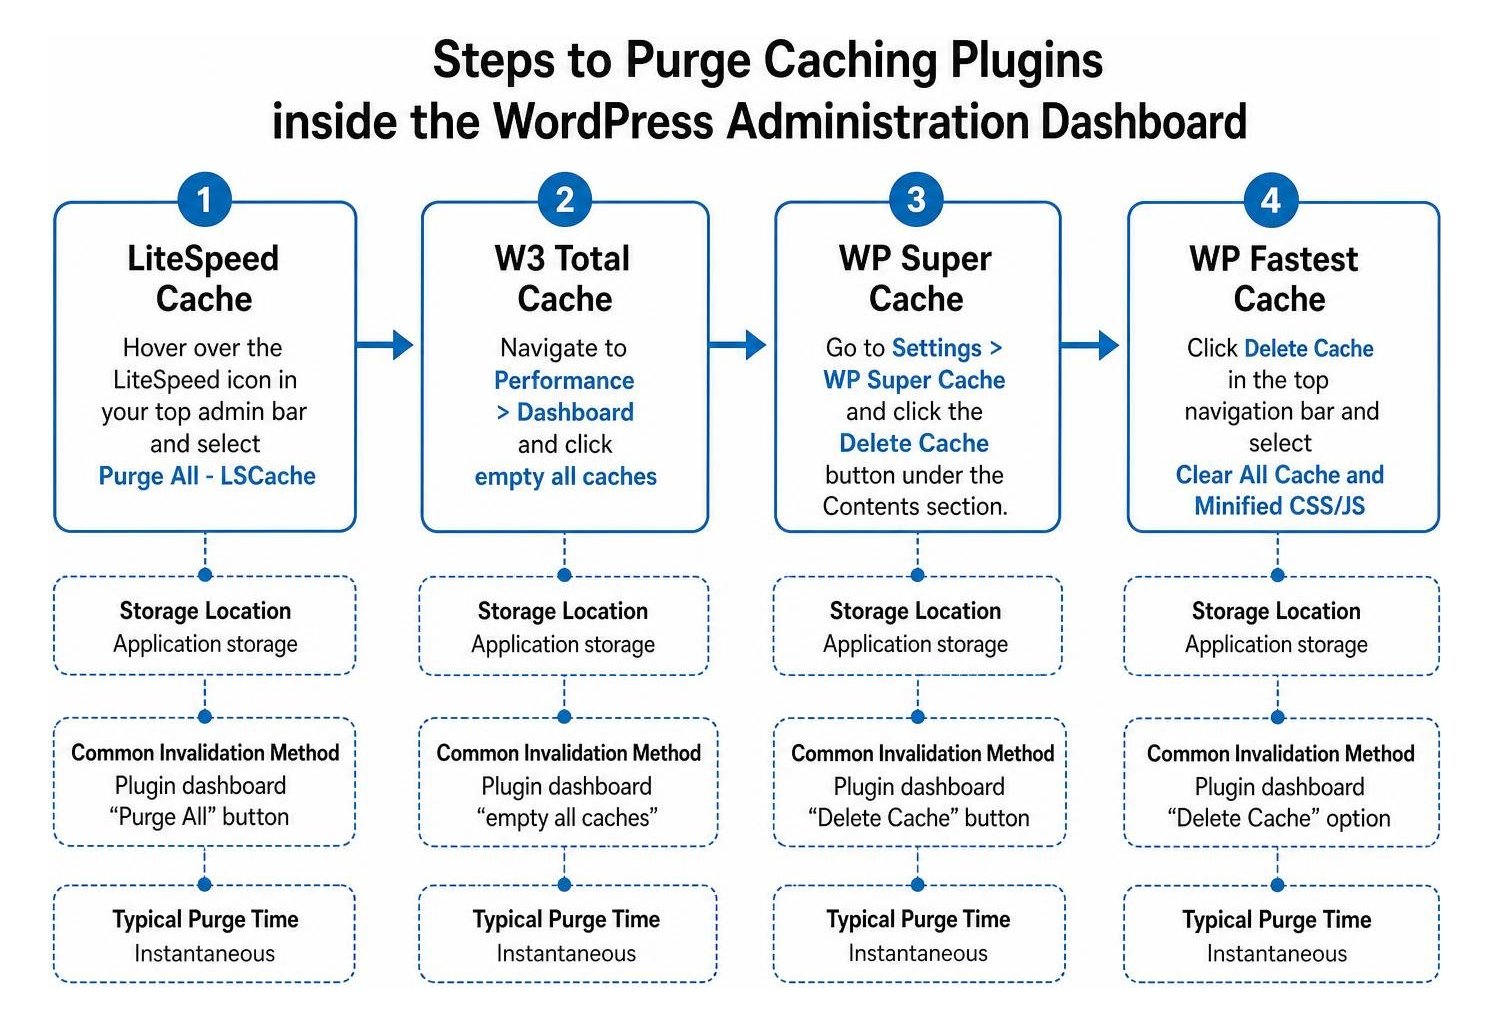
Next, purge your WordPress caching plugins:
- LiteSpeed Cache: Hover over the LiteSpeed icon in your top admin bar and select Purge All - LSCache.
- W3 Total Cache: Navigate to Performance > Dashboard and click empty all caches.
- WP Super Cache: Go to Settings > WP Super Cache and click the Delete Cache button under the Contents section.
- WP Fastest Cache: Click Delete Cache in the top navigation bar and select Clear All Cache and Minified CSS/JS.
- Flush Object Cache: If your store uses WooCommerce or displays dynamic inventory, navigate to your Redis or Memcached settings and flush stored transients and queries so price changes appear immediately.
How to Fix Stale Content After a Website Update on Server, CDN, and Dynamic Page Builders
If your CMS plugin is clear but changes still do not appear, your hosting server, edge CDN, or visual page builder is serving a pre-compiled file.
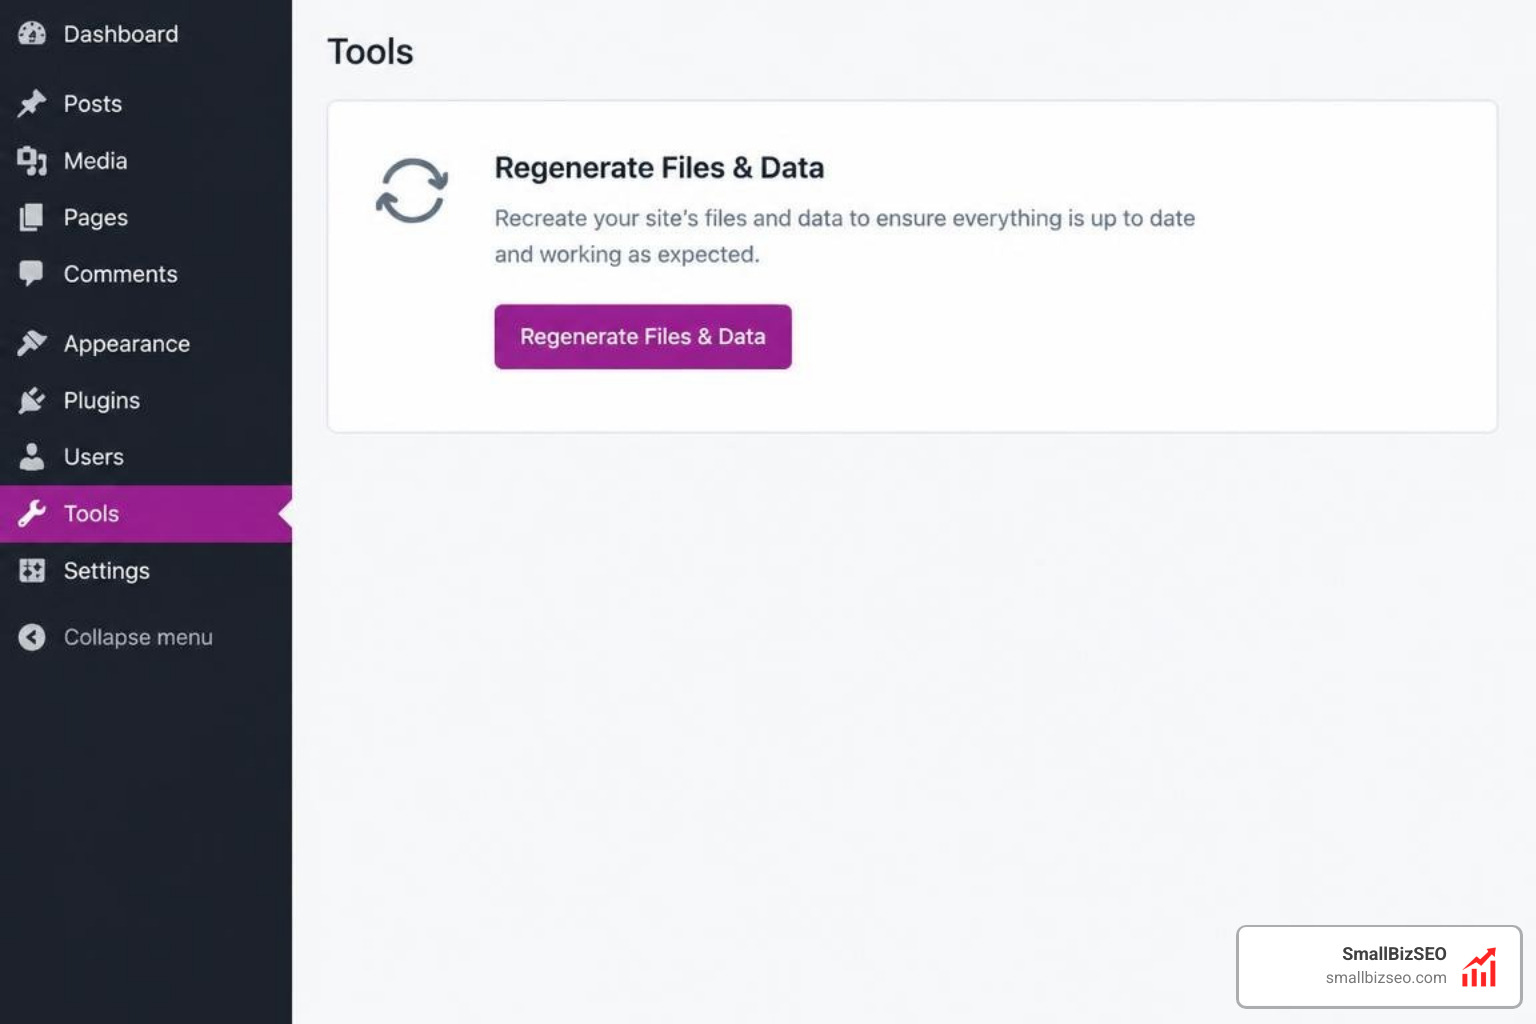
Page builders generate static CSS stylesheets to improve rendering performance. When you adjust fonts, colors, or column layouts, these styles must be regenerated manually if your builder misses the update trigger:
- Elementor: Go to Elementor > Tools > General, click Regenerate Files & Data, and then click Save Changes.
- Divi: Navigate to Divi > Theme Options > Builder > Advanced and click Clear next to Static CSS File Generation.
Next, clear edge servers. Cloudflare achieves global cache invalidation in under 150 milliseconds for URL-level purges, while Amazon CloudFront takes 2 to 3 seconds at the median to clear cache globally across edge nodes. Log into your CDN dashboard, choose Custom Purge, and enter the exact URL of the updated page rather than clearing your entire site unnecessarily.
If you have removed discontinued landing pages entirely, evaluate prioritizing broken pages to protect your crawl budget. When outdated snippets linger directly within Google search results after your edits are live, submit the URL via Google's Refresh Outdated Content tool. That natural re-indexing depends heavily on standard search engine processing timelines.
Why Mobile Devices Show Old Versions Longer and How to Resolve It
It is common to see an updated page on desktop while your phone continues to display the old design. Mobile browsers use aggressive local caching routines to conserve cellular data and battery life.
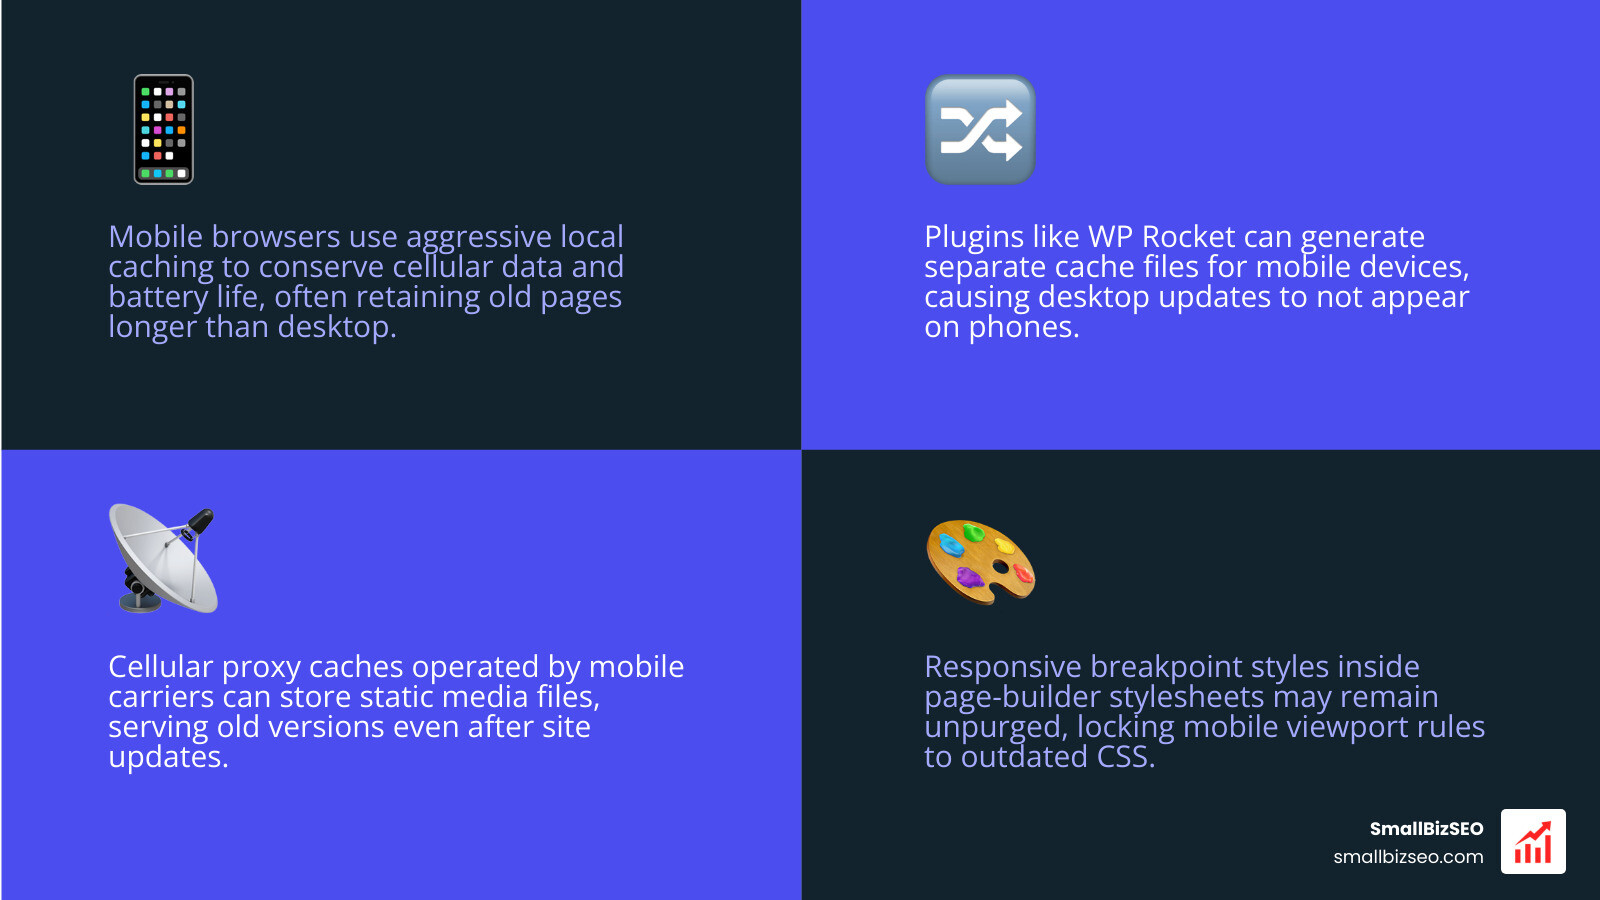
Mobile discrepancies typically stem from three causes:
- Separate Mobile HTML Caches: Plugins like WP Rocket can generate separate cache files for mobile devices. If your desktop cache purges automatically during a publish event but the mobile cache generation job is delayed, mobile visitors receive stale HTML.
- Cellular Proxy Caches: Mobile carriers sometimes route traffic through intermediary proxies that store static media files.
- Responsive Breakpoint Styles: When CSS is updated, mobile viewport rules might remain stuck inside an unpurged page-builder stylesheet.
To resolve mobile-specific caching, enable separate mobile cache purging within your CMS plugin, regenerate responsive builder styles, and test on your mobile device using an incognito tab while connected to Wi-Fi.
How to Verify Fresh Content Using Browser DevTools and Cache Busting
You can verify whether a page is being served fresh from your origin server or retrieved from cache by inspecting network response headers.
Open your browser, press F12 (or right-click and choose Inspect), and select the Network tab. Reload the page and click the main document request at the top of the list:
- Look for the
CF-Cache-Statusheader (for Cloudflare):- HIT: The CDN served a cached copy.
- MISS: The CDN fetched a fresh version from your origin server.
- BYPASS / DYNAMIC: Caching was bypassed entirely.
- STALE: The edge server served an expired file because the origin server was unreachable.
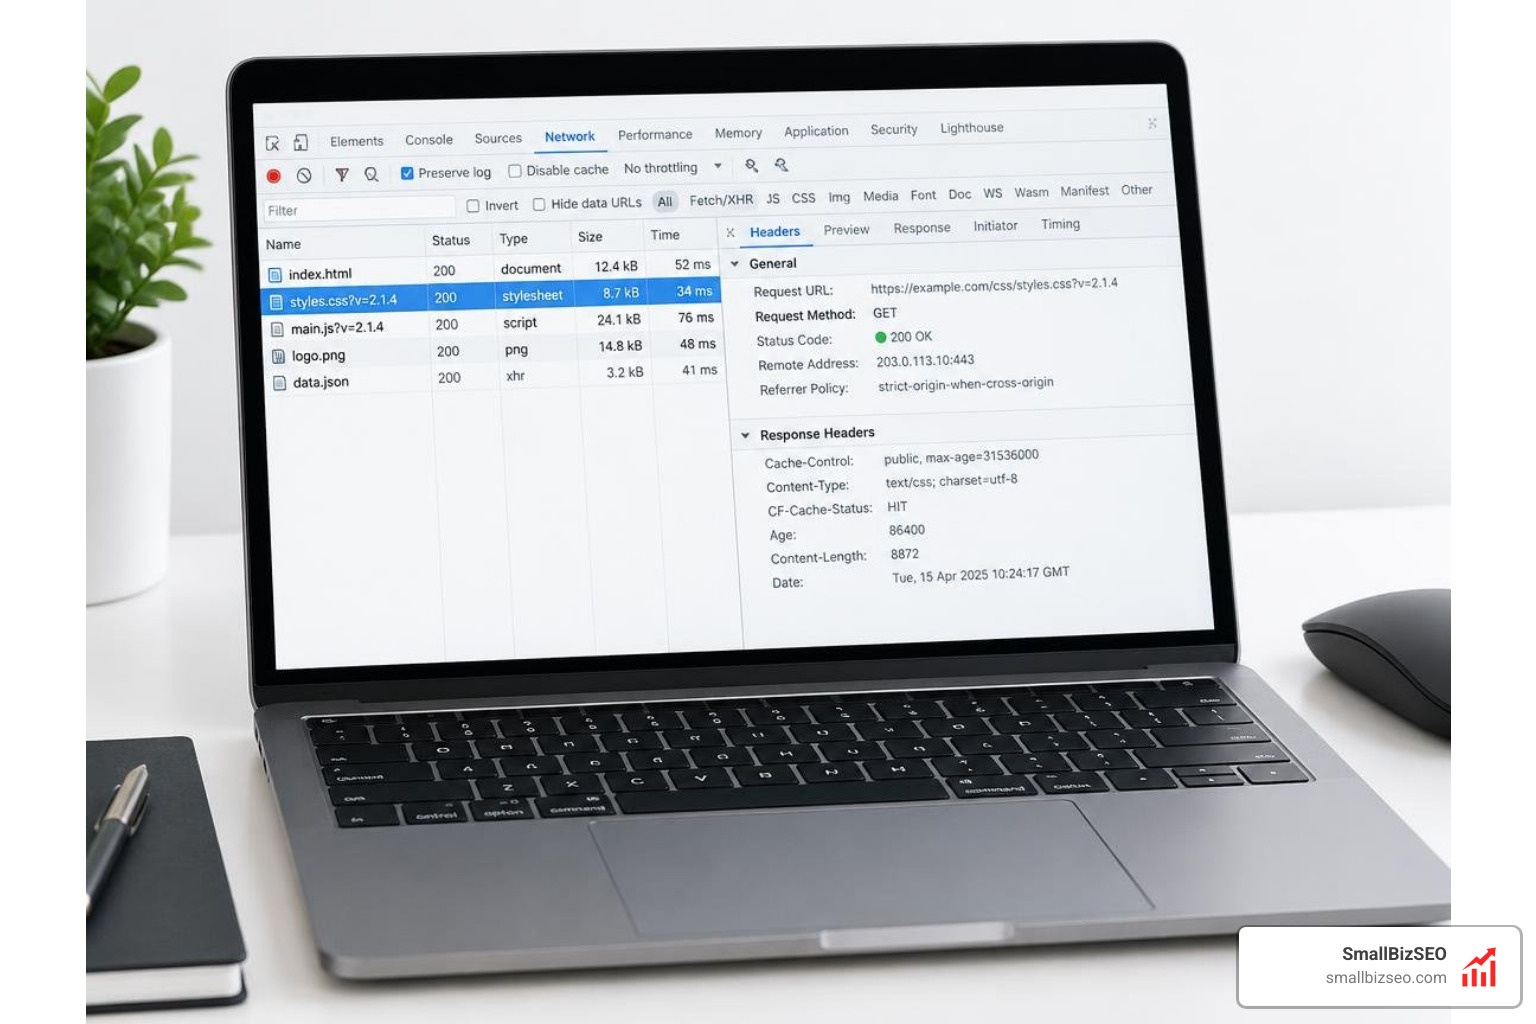
To prevent browsers from locking onto outdated CSS and JavaScript files, implement cache busting. Cache busting appends a version query string or a unique cryptographic hash to static asset filenames (such as styles.css?v=2.1.4 or bundle.a89f2c.js). When you update a file, the filename changes, forcing every browser and edge server to fetch the new asset immediately.
If you operate a Progressive Web App (PWA), check the Application tab in DevTools, click Service Workers, and choose Unregister to eliminate client-side service worker caches holding old assets.
Keep Your Future Website Updates Live Instantly
Resolving stale content requires a systematic approach: hard refresh your local view, clear your WordPress caching plugins, flush your server-level LiteSpeed or Varnish caches, purge your CDN edge, and regenerate page builder styles.
Automating these steps within your deployment workflow ensures that your visitors, customers, and search crawlers always see your latest content without delay. If your updates coincided with a major site overhaul, make sure to read our guide on auditing post-redesign visibility and conduct regular content decay audits to maintain search performance.
For businesses looking to maximize organic search growth with technical precision, SmallBizSEO provides a data-driven Velocity framework that keeps your digital assets performing cleanly. Explore our comprehensive caching strategies or get in touch with our team today to streamline your website architecture.